Installing X11 under Mac OS X
The steps needed to install X-windows (X11) from the Tiger (10.4)
Install DVD follow. Note that administrator access is required.
- Insert the DVD; on the finder window for the DVD,

- scroll down and double-click on the Optional Installs icon:
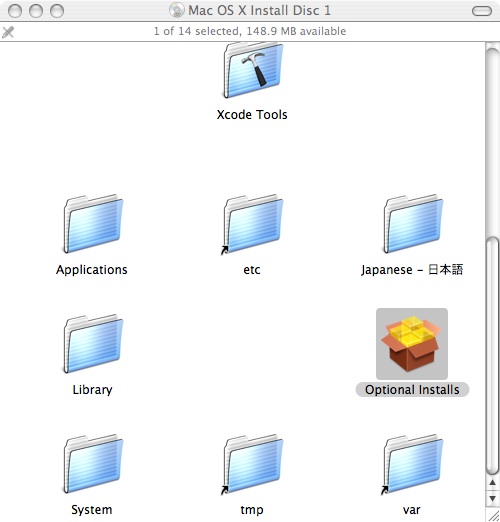
This starts the installer.

- Proceed through the
windows by pressing Continue

- Select the installation location
(note that X11 must be installed on the boot disk).

- On the package list page, click on the arrow next to Applications
to open the list,

- then select X11 to be installed by clicking in the box
to the left and click Install.

- The installation then begins.

- When installation is complete, the X11 package can be run
from the utilities menu of the system Applications folder.

$Revision: $ $Date: $

